Low wedding centerpieces have become a central element of modern reception tablescapes, offering an intimate aesthetic that encourages conversation across the table. When event decor towers too high, it creates physical and visual barriers that disconnect guests seated opposite one another. Low-profile arrangements resolve this challenge by keeping floral and non-floral components below eye level while delivering rich texture, balance, and elegance. This comprehensive guide details ten distinct low centerpiece concepts, providing practical fabrication techniques, stem placement principles, and vessel selection advice for modern weddings. Readers will discover how to utilize chicken wire armatures, pin frogs, shallow ceramic compotes, and modular bud vases to construct professional-quality floral art. Learning these floristry mechanics allows couples and independent stylists to design long-lasting table displays that maintain structural stability throughout an evening of dining. Beyond aesthetic appeal, low centerpieces offer logistical efficiency, reducing transport risks and simplifying table setup compared to fragile elevated installations. By following systematic steps for conditioning, foundational mechanics, and artistic layering, anyone can create polished handmade decor with complete confidence and control.
Why This Idea Is Trending or Useful
The popularity of low wedding centerpieces across contemporary wedding design boards stems from their practical functionality, understated luxury, and budget-friendly accessibility. Modern wedding trends prioritize warmth, authentic connection, and relaxed elegance, moving away from formal, rigid banquet environments. Low arrangements fit naturally into these modern designs, pairing seamlessly with family-style dining setups, narrow farm tables, and minimalist style tablescapes where surface space is limited. From a DIY perspective, low-profile designs are approachable for beginners because they do not require heavy support poles, overhead mechanics, or large quantities of expensive filler flowers. Stems are cut shorter, which enhances water uptake and keeps blooms fresher for longer periods without showing early signs of drooping. Sourcing seasonal botanicals for compact vessels requires fewer stems per table, allowing couples to allocate their floral budgets toward higher-grade statement blooms like garden roses or ranunculus. Furthermore, because these arrangements remain lightweight and easy to balance, they significantly reduce vehicle packing complications and on-site assembly time.
Materials and Preparation
Constructing stable low floral centerpieces requires gathering proper mechanical foundations, structural tools, and fresh botanical supplies before design work begins. Core hardware supplies include shallow footed compote bowls, low-profile ceramic dishes, waterproof floral tape, green coated chicken wire, brass pin frogs, and non-toxic floral adhesive putty. Floristry shears, branch snips, and clean water pitchers are essential tools for trimming stems cleanly and filling vessels without spilling on linens. Preparation begins with thorough botanical processing: strip lower foliage from all flower and greenery stems to prevent bacterial growth in the water, cut stem ends at a sharp forty-five-degree angle using sharp shears, and place stems into cool, clean water mixed with floral preservative for twelve hours prior to assembly. Measure banquet tables to ensure finished arrangements remain beneath the fourteen-inch vertical threshold, leaving sightlines clear across the room. Organize materials into separate buckets categorized by role—structural foliage, secondary mass flowers, primary statement blooms, and delicate airy textures—to streamline assembly on the work surface.
1. Textured Compote Bowl with Garden Roses and Trailing Foliage
Step-by-Step Guide
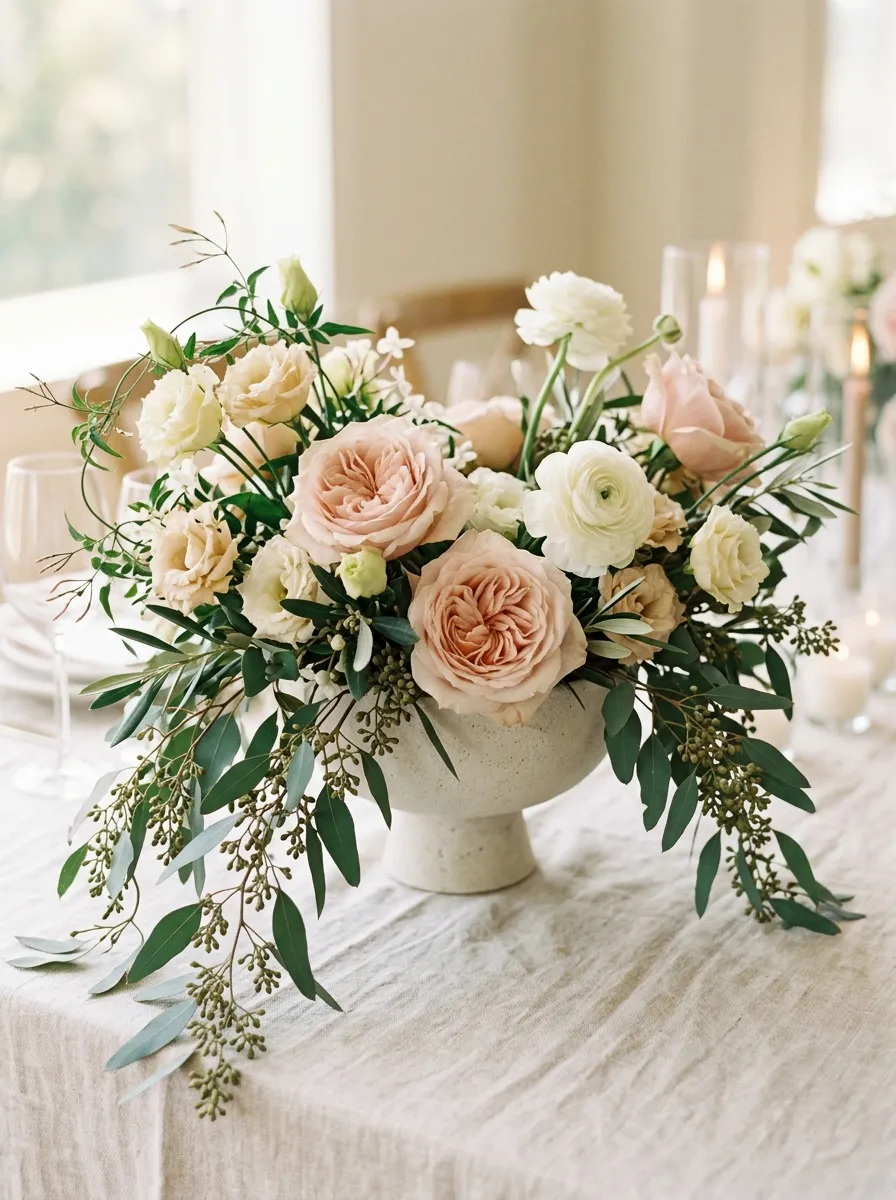
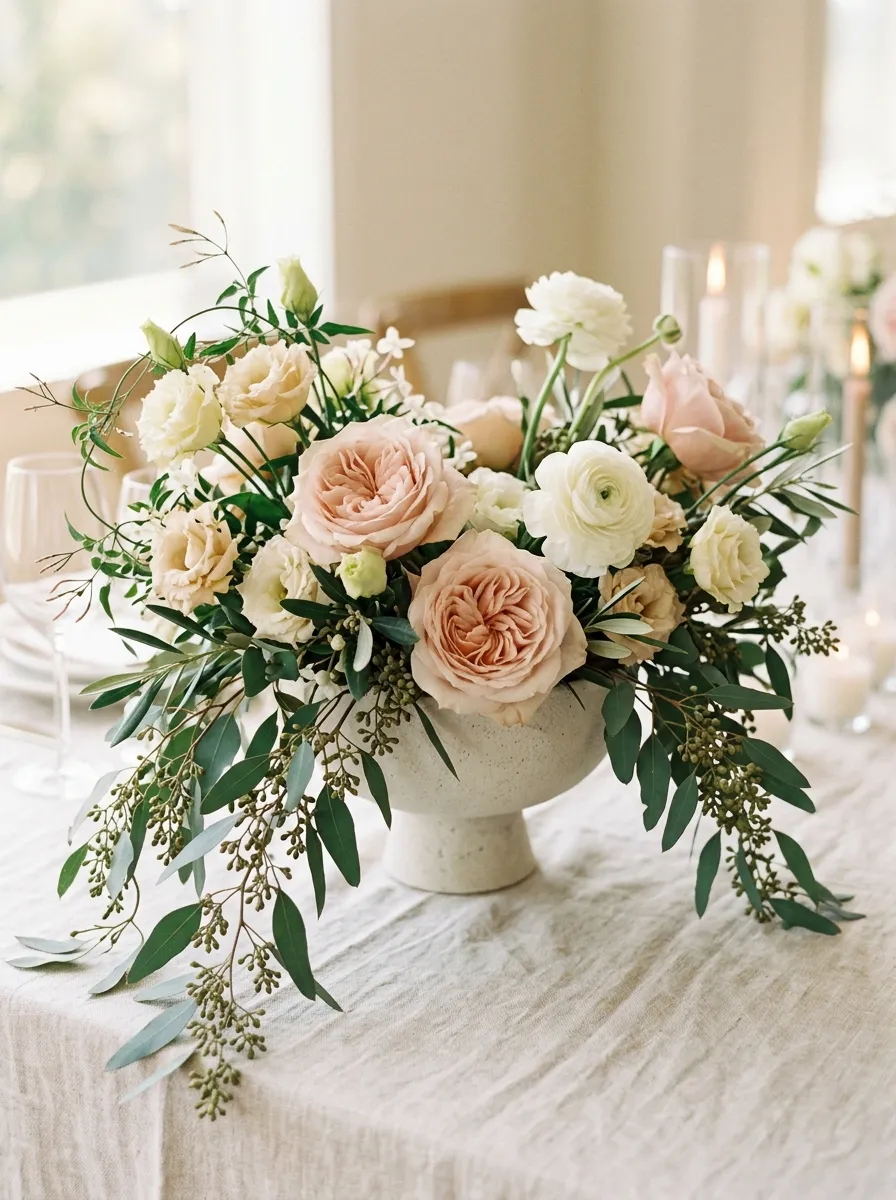
The ceramic compote arrangement is a staple of modern organic wedding design, characterized by a low footed base that elevates blooms slightly above the linen while maintaining a relaxed, horizontal shape. This concept avoids rigid, symmetrical domes in favor of an asymmetric, natural form with stems spilling outward toward the table surface. Soft garden roses serve as focal anchors, balanced by textural secondary flowers such as lisianthus and spray roses, with trailing greenery extending the horizontal width. The low bowl allows water to reach short stems quickly, keeping the display fresh throughout warm indoor celebrations. This style suits vintage garden, romantic vineyard, and modern classic wedding themes, working on both round banquet tables and rectangular layouts.
To assemble this centerpiece, cut a square of coated floral chicken wire twice the diameter of the compote bowl, form it into a loose dome, and press it firmly into the vessel cavity. Secure the wire cage using waterproof floral tape pulled tightly across the rim in an X-pattern. Fill the bowl three-quarters full with fresh water and flower food solution. Insert foundational greenery—such as ruscus and seeded eucalyptus—around the outer perimeter at low angles to establish a broad base and hide the mechanical rim. Place three to five large garden roses in an asymmetrical cluster near the center, trimming stems to varying lengths to create depth within the bowl. Fill internal gaps with lisianthus, ranunculus, and delicate astilbe, ensuring no tape or wire remains visible, then finish by misting the flower faces with clean water.
2. Linear Botanical Runner of Clustered Glass Bud Vases
Execution Process
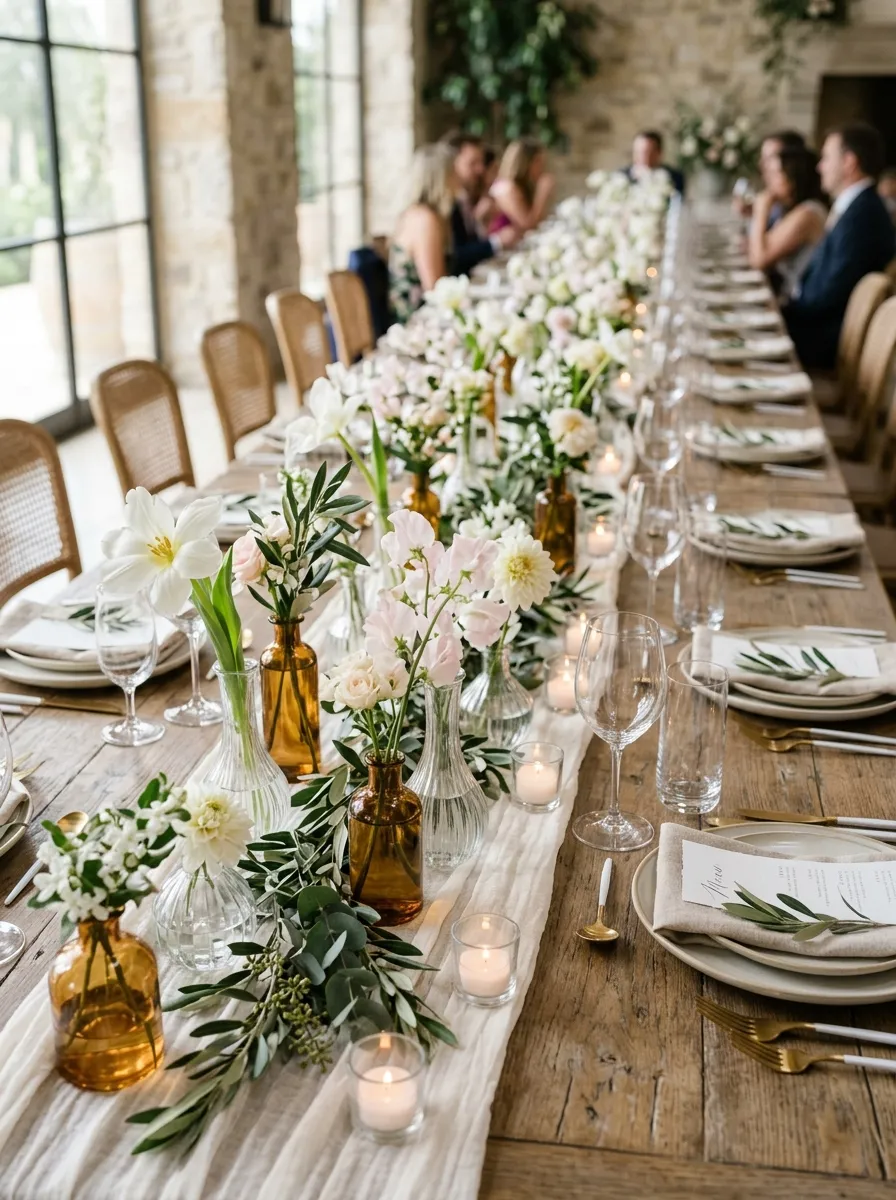
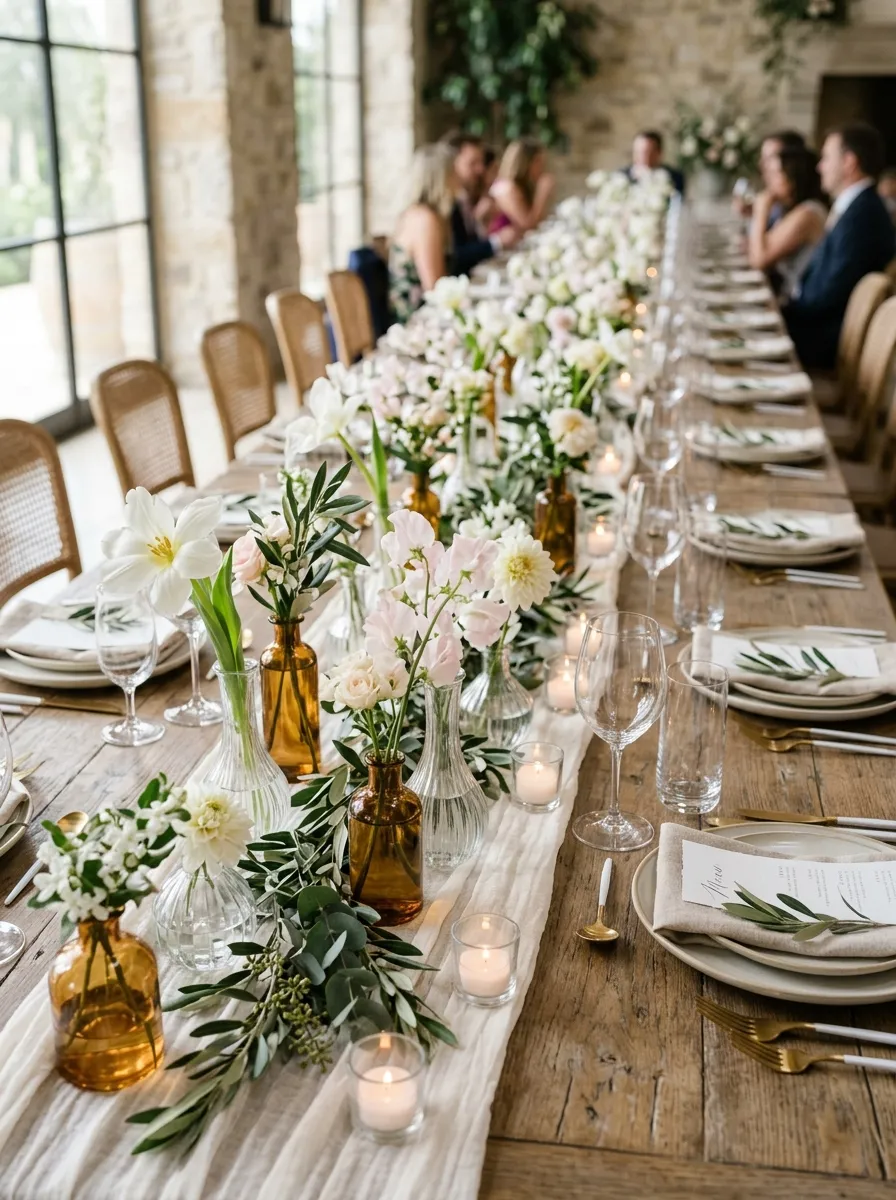
The clustered bud vase runner is a modular, minimalist design that adapts to long banquet tables and communal dining benches. Rather than concentrating flowers inside a single vessel, this concept disperses blooms across varied petite glass bottles, apothecary jars, and ribbed bud vases positioned down the center of the table. Each miniature vase holds two to three stems cut at varying heights, creating an open, airy landscape of flowers that lets table linens and candle groupings show through. This arrangement style prevents visual heaviness on narrow tabletops, leaving space for shared platters, bread baskets, and wine carafes. The design offers exceptional flexibility, as components can be reconfigured around table numbers, place settings, and chargers without disturbing the floral integrity.
Begin by gathering five to seven distinct glass bud vases per six feet of table runner, selecting a mix of clear, fluted, and tinted vessels in varying heights between four and eight inches. Fill each vase with clean, preserved water using a narrow-spouted kettle to avoid drops on the table runner. Trim main statement stems—such as open reflexed tulips, dahlias, or single peonies—so their heads sit just above the vase rims, ensuring stability in narrow openings. Insert contrasting architectural elements, such as slender stems of delphinium, cosmos, or sweet peas, into select vases to introduce varied vertical accents. Weave a low runner of loose olive branches or trailing smilax vines directly onto the linen between the placed vases to visually connect the individual glassware pieces into a cohesive botanical line.
3. Brass Pin Frog Stone Dish with Sculptural Ikebana Stems
How to Create
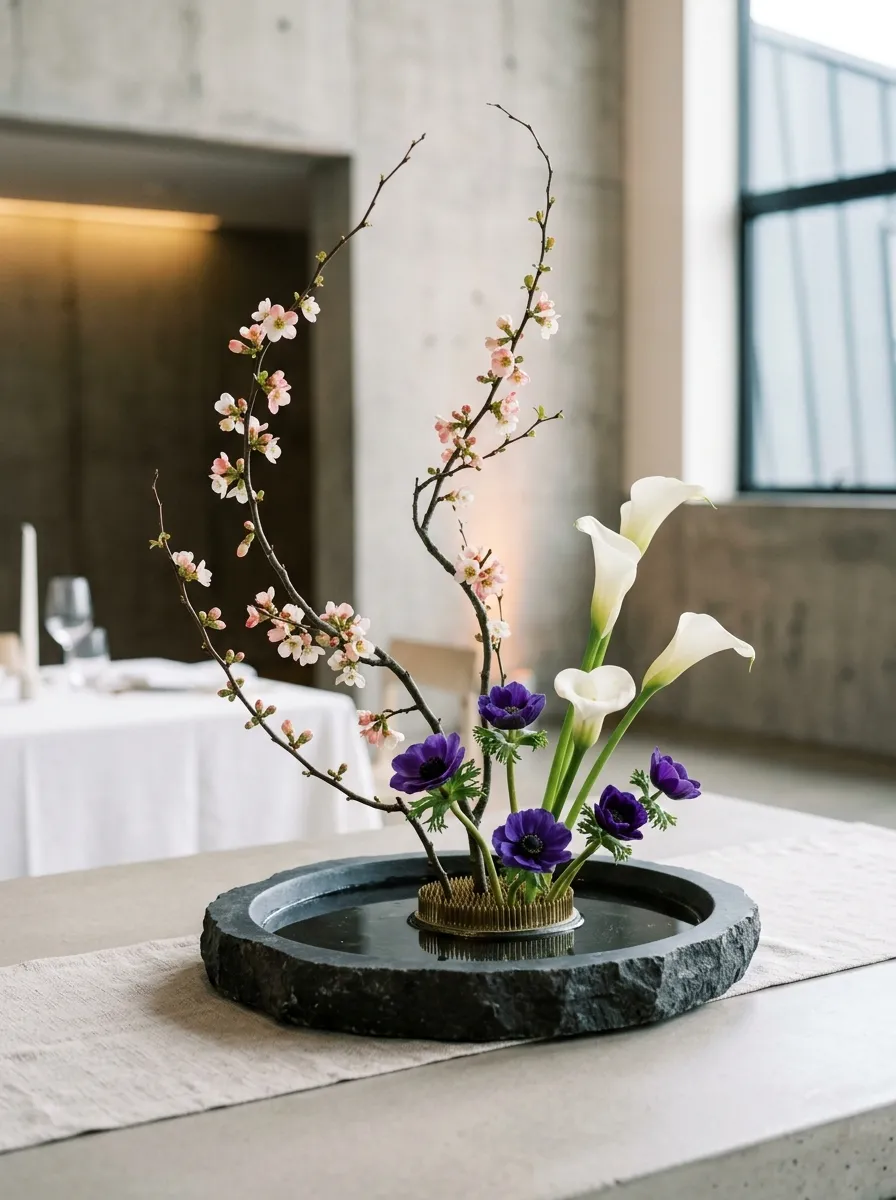
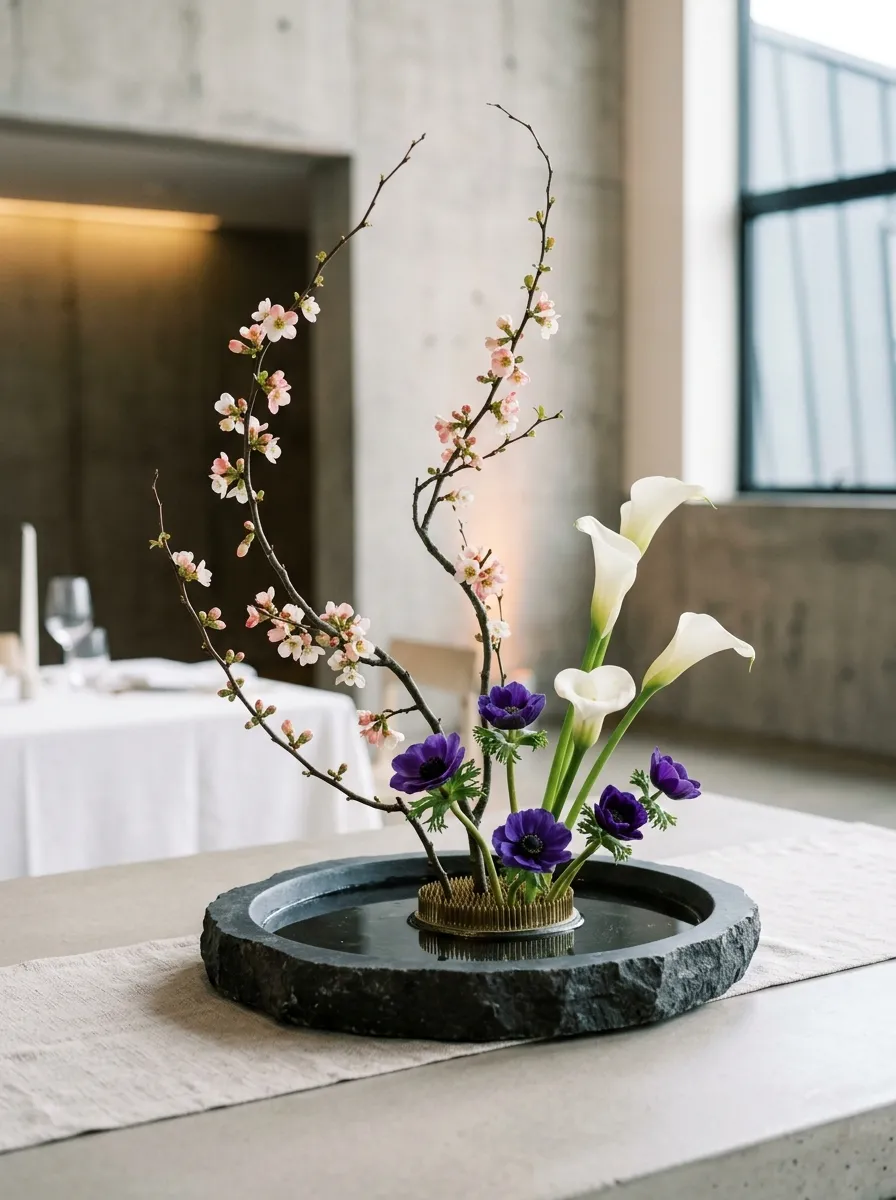
Drawing from the principles of Japanese Ikebana, the pin frog stone dish arrangement uses intentional negative space, architectural line work, and minimal stems to create an elegant aesthetic. A low, shallow ceramic or natural stone bowl houses a heavy brass kenzan, or pin frog, that holds thick, curved woody branches and delicate blooms in place without floral foam. Instead of dense clustering, this design celebrates the unique curve of each stem, allowing the water’s surface to remain visible as a reflective, calming design element. This refined approach suits contemporary, modern minimalist, and art gallery weddings where restraint, clean lines, and architectural form take precedence over heavy, traditional volume.
Select a heavy ceramic dish with a two-inch rim and place a brass pin frog in the center, securing its metal base with floral putty applied to dry surfaces. Press firmly with a twisting motion to create a watertight bond before pouring room-temperature water into the dish to submerge the brass pins completely. Select two curved woody branches, such as flowering quince, dogwood, or olive branches, cutting their bases straight across before impaling them firmly onto the metal pins at expressive diagonal angles. Add three to five focal stems, such as open calla lilies or velvety anemonies, placing them at varying heights near the branch base to anchor the center. Finish by placing a flat river stone or floating petal over any exposed brass pins to maintain a clean presentation.
4. Grounded Wooden Trench Box Packed with Wildflower Sprigs
Setup Method
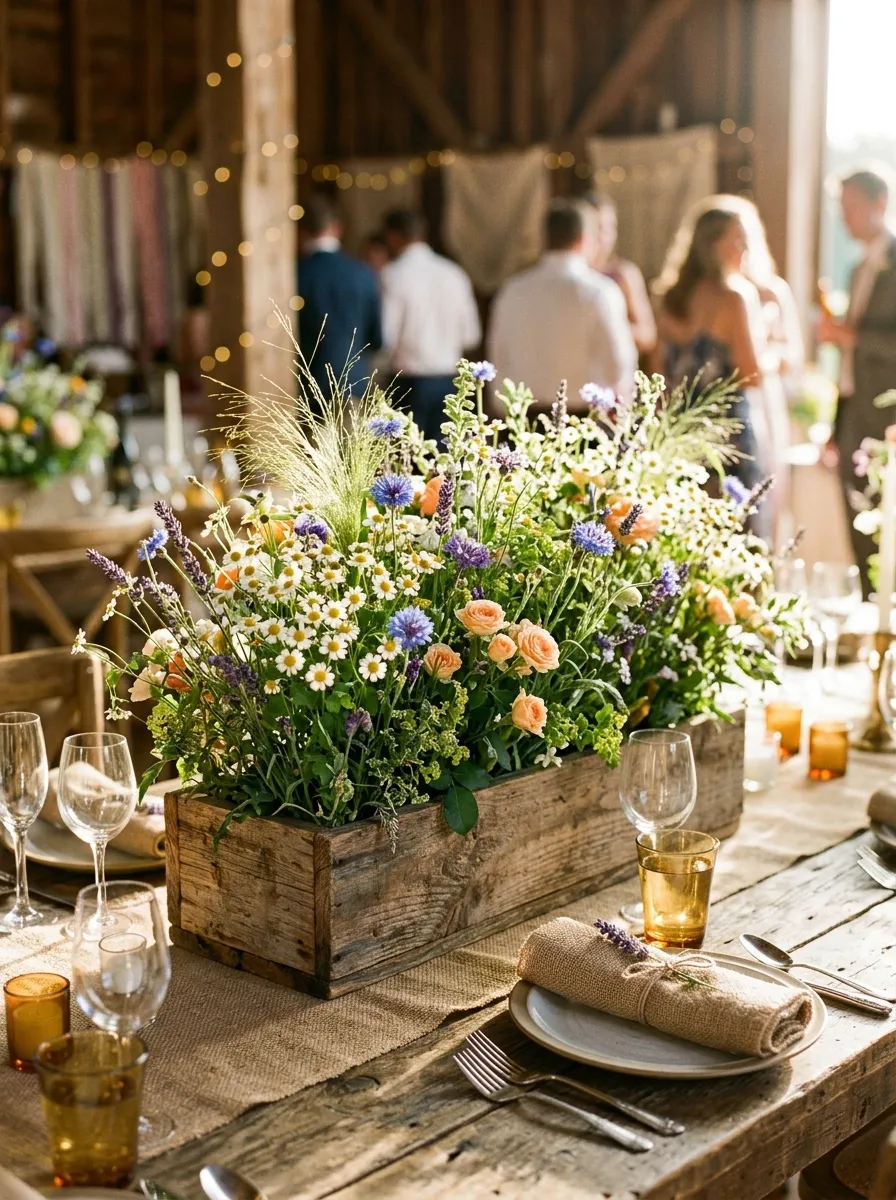
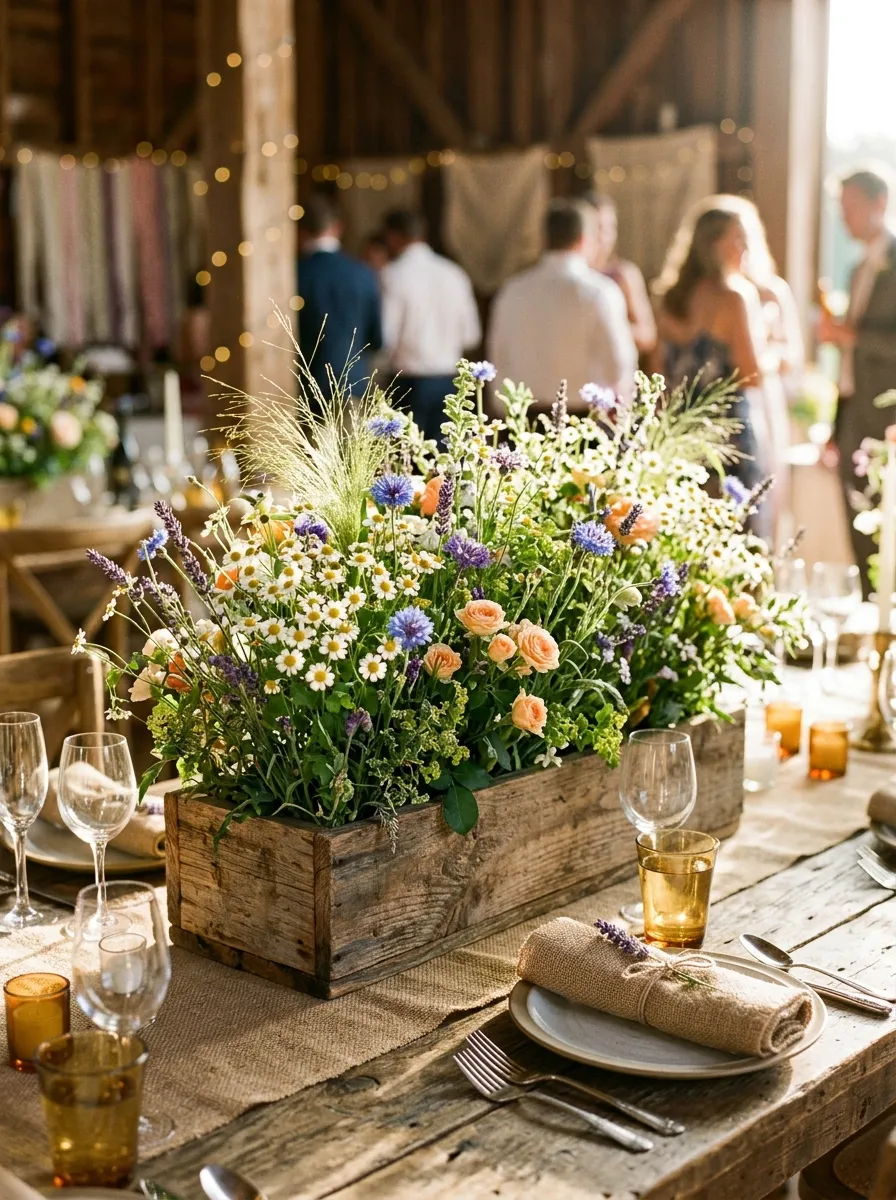
The wooden trench box centerpiece provides a grounded, rustic design that suits long farmhouse tables and barn wedding venues. Built within a low rectangular cedar or reclaimed wood planter box, this arrangement forms a continuous trough of wildflower blooms, textured seed pods, and mixed meadow grasses. The linear shape keeps the arrangement compact, preventing flowers from spilling into guest place settings while providing consistent visual coverage down the length of the table. By incorporating wildflowers like chamomile, scabiosa, snapdragons, and panicum grass, the arrangement creates the look of an untamed country meadow growing directly from the table.
Construct or source a wooden planter box measuring approximately four inches wide, four inches deep, and twenty-four inches long, sealing the interior with a heavy-duty plastic liner to prevent water leakage onto table linens. Cut water-soaked floral foam bricks or chicken wire cages to fit snugly into the lined trough, securing the mechanics with green floristry tape across the box edges. Fill the container with water and begin building the arrangement by inserting spires of larkspur, snapdragons, and green fountain grass along the center spine. Layer open garden blooms, such as spray roses, field chamomile, and blue cornflowers, along the front and rear borders to soften the hard wooden edges of the planter box. Ensure the overall height remains below twelve inches, trimming unruly outer stems to keep sightlines clear across the table.
5. Shallow Terracotta Saucer with Living Succulents and Stone
Step-by-Step Guide
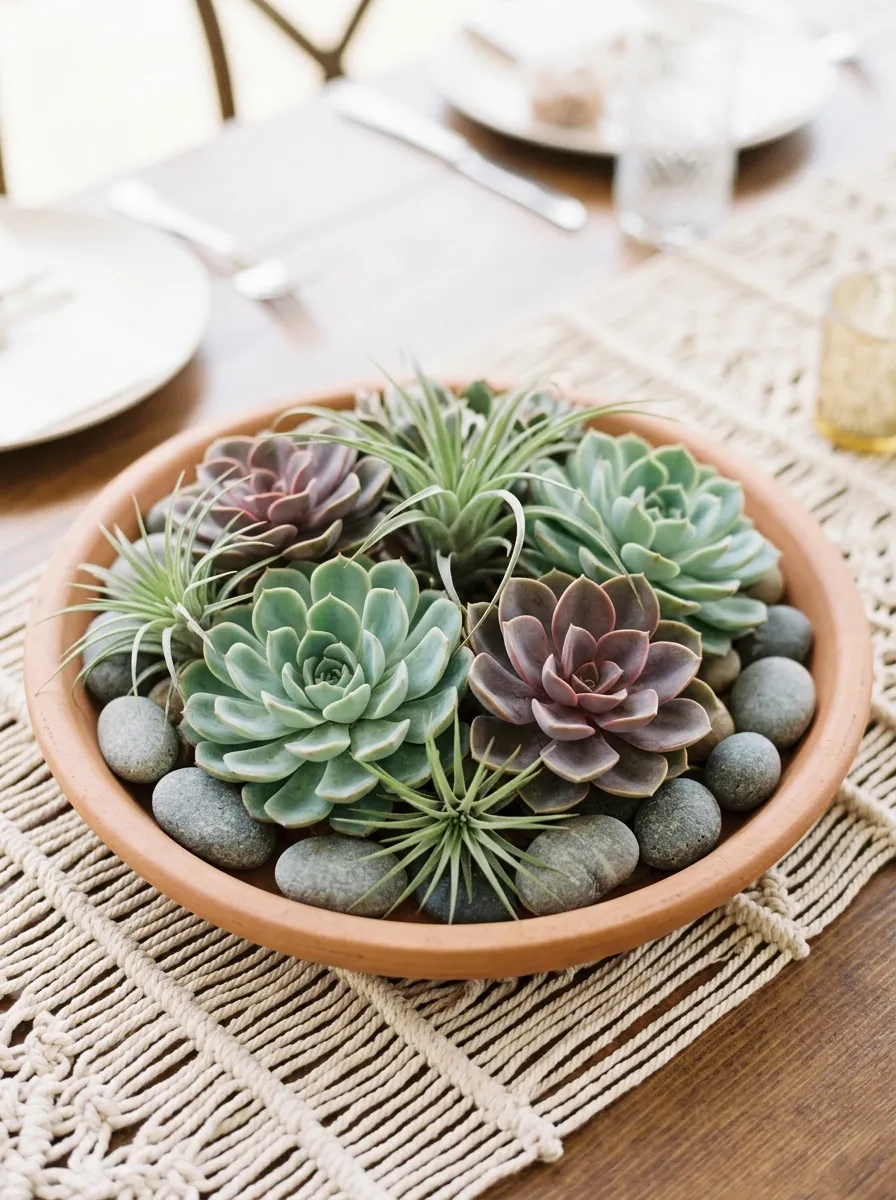
The terracotta saucer succulent arrangement combines longevity, sustainability, and earthy botanical texture in a low-profile format. Using shallow clay pottery saucers traditionally meant for plant drainage, this centerpiece gathers living rooted succulents, dried seed pods, coarse gravel, and air plants into a drought-tolerant display. The muted earth tones of natural terracotta pair with dusty blues, sage greens, and soft plum succulent rosettes, creating an organic palette suited to desert, bohemian, and outdoor summer weddings. Because the plants remain alive in shallow soil or sand, these centerpieces can be assembled weeks in advance of the event date without risk of wilting, and they double as long-lasting favors for guests to take home.
Begin by selecting an eight-inch unglazed terracotta saucer, lining the base with a thin disc of wax paper to stop moisture from sweating through porous clay onto table linens. Add a one-inch layer of fast-draining cactus potting soil mixed with coarse horticultural sand across the saucer floor. Unpot three to five small succulent rosettes—such as echeveria and sedum—nestling their root balls into the soil bed in an asymmetrical, off-center cluster. Cover the remaining exposed soil with smooth gray river pebbles or crushed granite chips to create a clean, uniform top layer. Tuck small clumps of pale reindeer moss and a single tillandsia air plant into the gaps between the succulents to soften the edges, misting the surface lightly with clean water before placing the saucer on the table.
6. Monochromatic White Floral Nest with Woven Grapevine Base
How to Create
The monochromatic white floral nest merges textural wood elements with creamy white blooms, creating an elevated rustic centerpiece suitable for winter or transitional weddings. The foundation uses a handmade, low wreath of woven natural grapevine, inside which a hidden water container supports a tight cluster of white and ivory botanicals. By keeping the color palette focused on white, ivory, and natural wood, the arrangement emphasizes contrasts in texture—such as rough bark against silky ranunculus petals and ruffled carnation edges. The circular form rests flat on the table, functioning as a botanical nest that surrounds a central glass hurricane or low cluster of taper candles.
Form a twelve-inch circular wreath base by twisting lengths of flexible natural grapevine into a low, flat ring, securing the loose ends with thin brown craft wire. Place a shallow, clear plastic floral bowl or glass ramekin into the center opening of the grapevine wreath, ensuring the vessel rim remains below the top branch line. Place a small ball of chicken wire into the bowl, fill it with water, and begin inserting short-stemmed white florals such as white peonies, ivory ranunculus, and snowberry sprigs. Angle the outer stems outward so the petals brush against the woven grapevine ring, blending the flowers and woody materials together. Insert sprigs of silvery dusty miller along the perimeter to bridge the transition between the bright white blooms and dark wood branches.
7. Floating Gardenia and Magnolia Leaf Mirror Tray
Execution Process
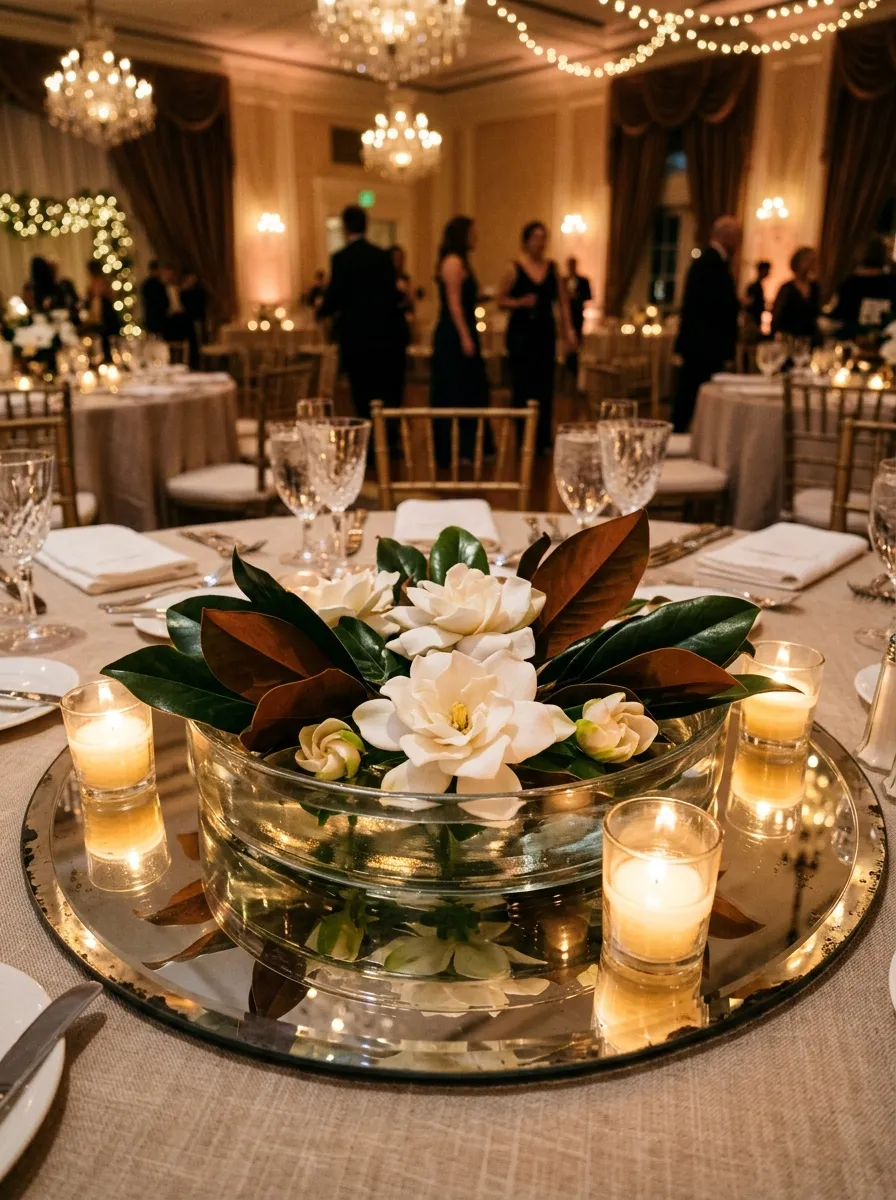
The floating floral mirror tray uses light, reflection, and scent to create a sensory centerpiece with minimal physical height. A shallow clear glass dish sits atop an antique, beveled-edge mirror tray, containing clean water where large, fragrant blooms float beside dark greenery. The reflective mirror surface catches light from overhead fixtures and surrounding votive candles, bouncing warm light through the water and giving the arrangement a bright, expansive presence. Selecting naturally fragrant blooms like open gardenias, floating water lilies, or trimmed camellias fills the reception space with gentle fragrance without requiring tall stems. This design works well in ballroom venues, glamorous evening receptions, and intimate indoor spaces where ambient lighting sets the mood.
Clean a twelve-inch circular or octagonal bevel-edged mirror tray with glass cleaner to remove dust and fingerprints, then place it flat in the center of the reception table. Position a wide, shallow, two-inch-deep clear glass bowl in the center of the mirror tray, filling it three-quarters full with room-temperature distilled water. Select four to six waxy southern magnolia leaves, wiping their tops with a damp cloth to show their deep green gloss, and float them around the outer water edges with their velvet brown undersides slightly visible. Trim the stems of fresh white gardenias or camellias flush to their calyx bases, placing the blooms gently onto the water surface so they float level. Scatter four clear glass votive candles directly onto the outer corners of the mirror tray to reflect warm candlelight through the water.
8. Dried Grass and Bleached Botanical Crescent
Setup Method
The dried grass and bleached botanical crescent is a textural, long-lasting centerpiece designed for autumn weddings, bohemian themes, and modern venues. Built using preserved and dried elements, this arrangement forms an asymmetrical crescent curve around one side of a low ceramic dish, leaving the opposite side open for a clean, sculptural silhouette. The materials palette includes bleached ruscus, dried bunny tails, fluffy pampas grass plumes, palm spears, and dried strawflowers in shades of cream, sand, and terracotta. Because this design uses no fresh stems or water, it is entirely immune to heat, dry indoor air, and time constraints, making it an easy project to complete well ahead of the wedding date.
Secure a piece of dry gray floral foam into a low, matte ceramic bowl using waterproof adhesive dots to hold the base steady. Shape the foam block with a craft knife, tapering it down toward one side of the vessel to guide the crescent form. Begin by inserting dried sun palms and bleached fern fronds into the higher end of the foam, angling the stems outward to establish a sweeping curve. Layer fluffy bunny tail grasses and preserved cream ruscus into the center of the foam, keeping stems dense to conceal the mechanics beneath. Insert dried terracotta strawflowers and small bleached protea heads at the base to serve as stable visual anchors. Ensure the low side of the crescent tapers off smoothly, leaving one-third of the ceramic bowl rim exposed to highlight the contrast between smooth pottery and soft grasses.
9. Citrus and Olive Branch European Feast Ring
How to Create
Inspired by Mediterranean harvest feasts, the citrus and olive branch centerpiece blends fragrant culinary fruit with silvery foliage for an inviting, farm-to-table look. The base of the design is a woven garland of fresh olive branches, bay laurel leaves, and seeded eucalyptus laid directly on the table runner. Tucked into the foliage are fresh, whole and halved citrus fruits—such as Meyer lemons, blood oranges, and green key limes—introducing vibrant natural color without traditional floral blooms. The arrangement sits completely flat, making it ideal for long outdoor banquet tables, vineyard dinners, and family-style meals. The natural scents of cut citrus and crushed olive leaves provide a fresh, clean aroma that complements dinner service without overwhelming the meal.
Begin by rolling out a neutral linen or raw silk table runner along the center of the table to protect the wood from natural fruit oils. Lay two overlapping branches of fresh silver olive foliage along the center line, weaving the woody stem ends into neighboring branches to form a continuous runner. Add sprigs of fragrant bay leaves and seeded eucalyptus along the sides, expanding the foliage width to approximately ten inches across. Slice two blood oranges and two lemons in half with a sharp paring knife, patting the exposed cut flesh dry with paper towels to prevent juice from dripping. Nest the halved citrus fruit face-up among the olive branches, and tuck whole uncut lemons, limes, and small clusters of dark grapes around them to create an abundant display. Complete the tablescape by placing tall, slender glass oil lamps or low votive candles along the foliage line.
10. Low Cast Metal Urn with Spilling Hydrangea and Berries
Step-by-Step Guide
The low cast metal urn centerpiece offers an antique, old-world silhouette with rich floral density, well-suited for classic ballroom receptions and historical estate weddings. A shallow, weathered urn made of cast iron, antiqued brass, or darkened pewter provides a sturdy base for voluminous, rounded flower groupings. Large antique hydrangea heads create a lush, full base that rests directly on the metal rim, while hypericum berries, trailing jasmine vines, and dark calla lilies spill outward toward the table surface. The aged metal patina adds character and depth, contrasting with the soft petals of the hydrangea and creating an arrangement that feels grounded, luxurious, and timeless.
Place a plastic bowl liner inside a low, eight-inch cast brass urn, adding a water-soaked foam brick secured with floral tape pulled across the interior handles. Trim two large, antique green or dusty blue hydrangea heads, cutting their thick woody stems short at a forty-five-degree angle and slicing a vertical slit up the stem base to improve water intake. Insert the hydrangeas into the center of the foam block, allowing their petals to drape over the metal rim to soften the profile. Insert stems of deep burgundy hypericum berries and dark plum spray roses into the gaps between the hydrangeas to add rich seasonal color. Finish by inserting trailing jasmine vines or English ivy along the bottom edge, letting the vines trace the curves of the urn and touch the table linen to complete the balanced, classic display.
Common Beginner Mistakes and How to Avoid Them
A frequent mistake when designing low wedding centerpieces is building too high, unintentionally placing blooms directly in guest sightlines across the table. Centerpieces should stay below fourteen inches from table to bloom tip, preserving open visual space for effortless conversation. Another common issue is relying on unstable foundations, such as balancing cut stems in open bowls without support or skipping floral tape anchors. Always use supportive mechanics—such as shaped chicken wire cages, secured brass pin frogs, or fitted floral foam—and tape them firmly to dry vessel surfaces before adding water. Beginners also frequently overlook proper flower processing, leaving low leaves submerged where they break down and create cloudy, foul-smelling water. Strip all foliage that falls below the vessel waterline and clean your floral buckets with mild bleach between uses. Finally, designing without checking the centerpiece from all angles can leave bald spots or exposed mechanics on the reverse side. Always construct your arrangements on a rotating lazy susan or turn the vessel frequently, ensuring the design looks full and balanced from every seat at the table.
Practical Tips for Better Results
To achieve clean, professional results in your wedding centerpieces, focus on layering textures rather than packing in high flower counts. Combine smooth garden roses, papery lisianthus, fine spires of astilbe, and structured foliage to create natural depth that looks rich even in compact vessels. When conditioning flowers, cut all stems under running water and allow them to rest in a dark, cool room for twelve hours before arranging; this deep hydration plumps petal cells, helping blooms withstand warm reception lighting. Use reflexing techniques on closed garden roses or standard roses by gently folding outer petals backward with your thumbs to make smaller blooms look fuller and more luxurious. To prevent water from spilling during table setup, fill vessels half full while arranging, then top them off with a narrow-spouted watering can once placed on the tables. Finally, balance floral colors with surrounding elements—such as linen napkins, ceramic dinnerware, and taper candles—to create a unified, intentional tablescape that feels curated and cohesive.
Styling, Presentation, or Organization Ideas
Styling low wedding centerpieces effectively involves considering the entire dining table surface as a single visual canvas. Frame your floral vessels with contrasting textiles, laying woven runners, raw-edge linen cloths, or silk ribbons down the table center to give the arrangements a clear foundation. Pair low centerpieces with varied candle groupings—such as clear glass votives, ribbed tea light cups, and slender taper candles in brass holders—to create layers of warm light at varying heights. Coordinate your table stationery, such as place cards and menu cards, with your floral tones by choosing textured paper, letterpress printing, or matching wax seals. When dressing long banquet tables, establish a clean rhythm by alternating low floral bowls with bud vase clusters every three to four feet, maintaining visual interest down the line without crowding guest settings. Finally, carry your centerpiece materials into surrounding venue spaces—such as the welcome table, cocktail lounge, and bar top—to weave a cohesive design story throughout the wedding celebration.
Budget or Time Planning
Creating your own low centerpieces offers meaningful cost savings when backed by clear sourcing strategies and structured production timelines. Sourcing vessels through thrift markets, wholesale floristry outlets, or bulk supply vendors significantly reduces hardware expenses compared to renting from event companies. When choosing flowers, pair premium focal blooms like garden roses with economical, high-impact varieties like carnations, lisianthus, and locally grown field greenery to manage costs effectively. Establish a structured timeline for wedding week: prepare vessels, clean glassware, and tape wire mechanics two weeks in advance, keeping supplies organized in labeled bins by table assignment. Pick up fresh wholesale flowers two to three days before the ceremony to allow tight buds time to open naturally in cool water. Assemble the primary centerpieces thirty-six hours before the event, storing the completed vessels in a cool, dark room away from direct sun, drafty air conditioners, and ripening fruit. This organized schedule prevents last-minute stress, ensuring your handmade centerpieces arrive at the reception fresh, stable, and ready to display.
Creative Expansion and Advanced Inspiration
Once you are comfortable with basic low centerpiece construction, you can explore advanced floristry concepts to elevate your event design further. Experiment with asymmetric color gradients, transitioning blooms from deep plum to pale blush down the length of a long banquet table to create an eye-catching ombré effect. Advanced crafters can introduce architectural fruit elements—such as split pomegranates, green figs, or ornamental cabbage—into traditional floral bowls to add richness reminiscent of classical Dutch still-life paintings. You can also explore suspended botanical accents, hanging lightweight dried foliage clouds or delicate greenery tendrils above your low table arrangements to draw the eye upward while keeping tabletop sightlines clear. After the wedding, consider repurposing your vessels and mechanics into seasonal home decor, using ceramic compotes for holiday fruit displays or styling bud vases on open shelving. By combining fundamental floristry mechanics with creative material pairings, you can design distinctive, memorable centerpieces that bring lasting character to any celebration.